
For some modules (acquisitions, circulation, serials) a second screen is displayed. Here you can specify which functions the login ID may NOT perform:
This menu option provides an overview of the login ID’s that have access to an AFO. If you select this menu option, an input screen appears:
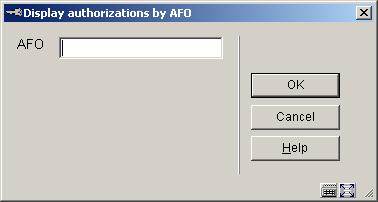
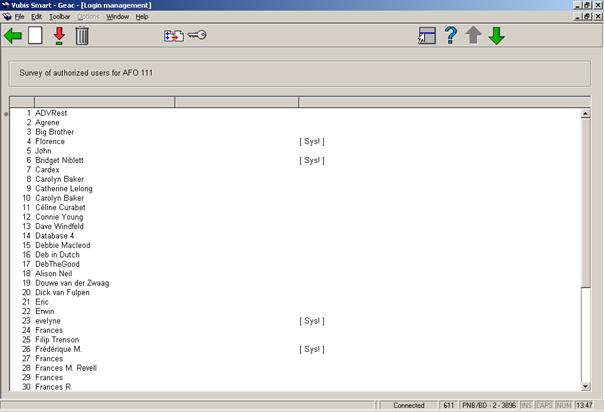
AFO: Enter an AFO number. An overview screen appears of all the login ID’s that have access to the AFO specified:
Notes
If you have logged in with the system login ID, the system displays the permissions for this login ID in sequence, followed by the actual login ID. If you have logged in using an ‘ordinary’ login ID, the system only shows the name associated with the login ID.
In the last column, the system indicates whether the password has permissions for system facilities in the AFO. If the last column is empty, the password has only permission to view facilities. If a password has system facilities, this is indicated by the word ‘[ Sys! ]’ in the last column.
: Select this option to add a login ID to the list. An input screen appears, in which you can enter the ID to be added.
:Select a line number and then select this option to turn the system facilities for the AFO on or off for this login ID.
:Select a login ID and select this option to delete a login ID from the list.
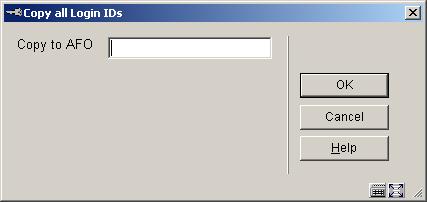
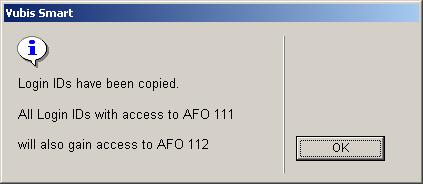
: Select this option to copy all login ID’s in this list to another AFO. An input screen appears. Here you can enter the AFO number to which the login ID’s must be copied. The login ID’s copied are added to the list with login ID’s that are already displayed for this AFO:
: A so-called ‘special’ access code can be assigned to each activity. This provides extra security for these activities. The user must enter this special code before gaining access to AFO’s secured in this manner.
You can change the system password. If you select this menu option, an input screen appears:
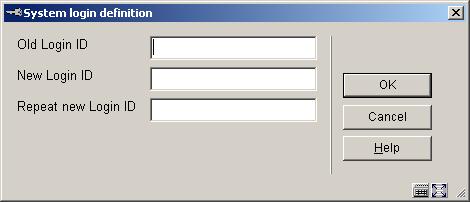
Old login ID: Enter the old system password.
New login ID: Enter the new system password.
Repeat new login ID: Enter the new system password again. If the code entered is not identical to the code in the previous field, the procedure is interrupted and the system issues a message stating that the system password has not been changed.
Notes
The passwords entered are not displayed on the screen.
Do not forget that the system password must also be defined as an ordinary login ID so that you can log in using it.
You can change the special password. If you select this menu option, an input screen appears:
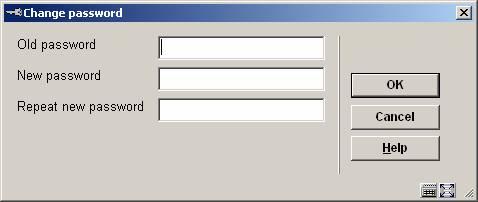
Old code: Enter the old code.
New code: Enter the new code.
Repeat new code: Enter the new code again. If the code entered is not identical to the code in the previous field, the procedure is interrupted and the system issues a message stating that the code has not been changed.
Note
The passwords entered are not displayed on the screen.
This option is not in use.

This menu option allows you to link specific options to a login ID. You can deny login ID’s access to options within the circulation and borrower administration. This option involves AFO 411 (‘Loans’) and AFO 431 (‘Borrower administration’).
If you select this menu option, a menu appears with the options that can be linked to a login ID:

Select the desired menu option. Now you can add login ID’s with an input screen or add or delete login ID’s that are denied access to an option via this screen.
Note
Defining options is a ‘negative’ process. That is to say: in principle all login ID’s have access to this option, except those you include in this list.

The procedure is the same as for ”Login restrictions – Borrowers and Loans”.
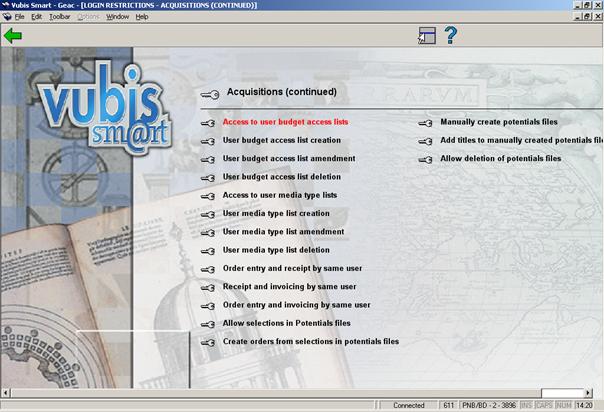
This menu option allows you to link specific options to a login ID. You can deny login ID’s access to options within the acquistions module. This option relates to AFO 243 (Budget control) and 277 (Acquisitions lists).
If you select this menu option, a menu appears with the options that can be linked to a login ID:

Select the desired menu option. Now you can add login ID’s with an input screen or add or delete login ID’s that are denied access to an option via this screen.
Note
Defining options is a ‘negative’ process. That is to say: in principle all login ID’s have access to this option, except those you include in this list.
The procedure is the same as for ”Login restrictions – Acquisitions”.
This menu option allows you to link specific options to a login ID. You can deny login ID’s access to options within the serials module. This option relates to AFO’s 311, 321 and 368.
If you select this menu option, a menu appears with the options that can be linked to a login ID:

Select the desired menu option. Now you can add login ID’s with an input screen or add or delete login ID’s that are denied access to an option via this screen.
Note
Defining options is a ‘negative’ process. That is to say: in principle all login ID’s have access to this option, except those you include in this list.
Using this menu option you can view or print the permissions for one or more login ID’s. If you select this menu option, an input screen appears:
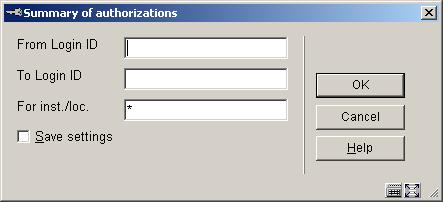
From login ID: Enter the login ID from which to start the overview.
To login ID: Enter the login ID that ends overview.
Note
If you wish to create a list of all login ID’s, leave the fields ‘From login ID’ and ‘To login ID’ blank.
For inst./loc.: Enter one or more agency and/or location codes (separated by commas) for which the list must be created. If you enter an “*” (asterisk) here, a survey will be created for all locations.
After you enter this data, the standard dialog box for generating output will be presented.
This menu option allows you to restrict the validity period for access codes (passwords). If you select this menu option, an input screen appears:

No. days until automatic expiry: Enter the number of days an access code (password) is to remain valid. When this period expires, the user will be forced to change his access code at login. The system will alert the user a few days before the access code expires.
· Document control - Change History
|
Version |
Date |
Change description |
Author |
|
1.0 |
unknown |
creation |
|
|
2.0 |
September 2006 |
updates for release 2.4.1 build 17 |
|
|
3.0 |
November 2006 |
merged in changes for release 2.4.2 serials maintenance updates |
|
|
4.0 |
March 2007 |
changed “access code” to “password”, new screen shot |
|